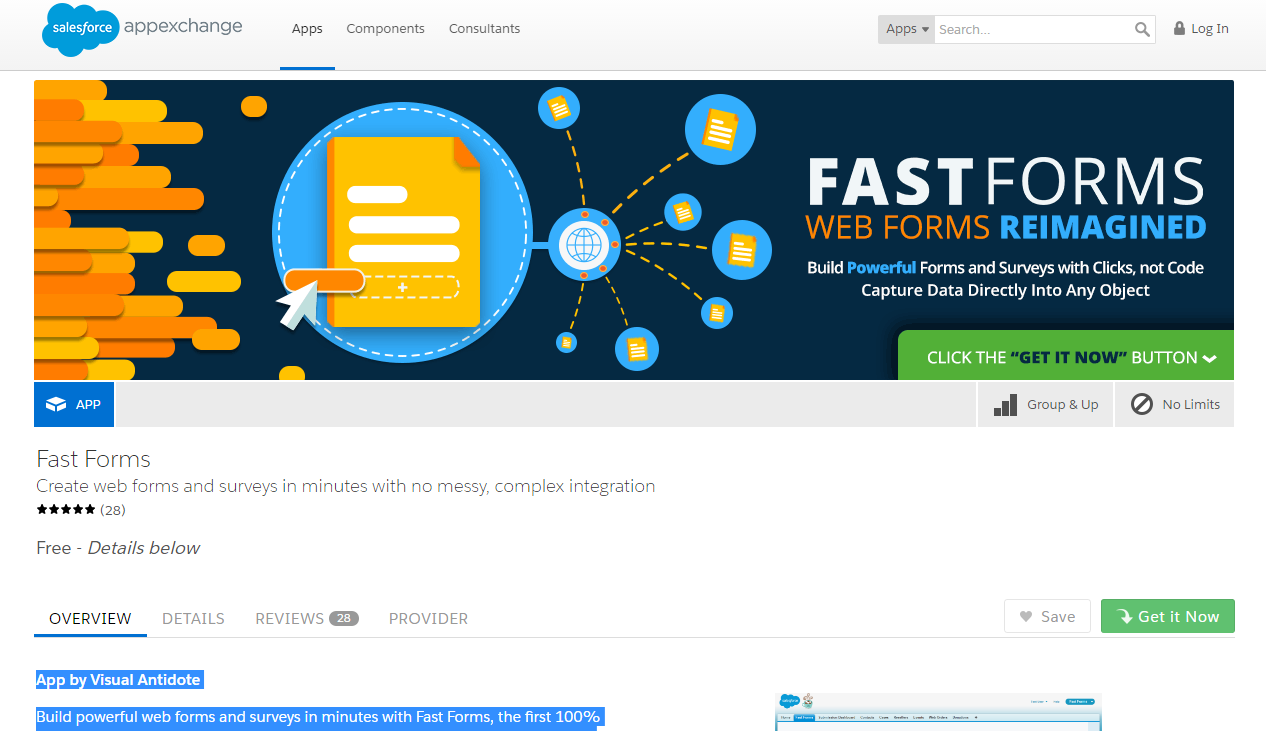
Sometime or the other you might have used web-to-case or Web-to-lead in salesforce , but would have missed the Web-to-sObject in salesforce. There is no direct way as we have for case and lead.
Today I am going to share about an appexchange product, which exactly does this. NOTE: I don’t have any affiliation with the product owner 😀 And there are other ways to do it as well.
Introduction :
The name of the product is”
Fast Forms
“. It’s Free to try , but costs $29 / license. It can be used with organization from Professional Edition and up. If you already know, professional edition does not give you flexibility to code(unless you have enabled additional features ), so this is a very good option for the professional edition users.
This package is provided by company called visualantidote. The link to the page can be found here( Fast Forms) . The link to the AppExchange package is here. This is the best solution I could think off for Web-to-sObject in salesforce. Comments are welcome if you know about any other ways.
It’s pretty easy to setup and use. Will talk about the steps here in a while. But will not get into more detailed in this post. This is just to give an idea. But if you are stuck anywhere, please feel free to contact me using the comments box below.
Let’s get working on Web-to-sObject in salesforce:
Get the package from the link above and install it in your org, where you want to test this. Once installed and ready you can see the app (Fast forms) in the apps drawer in salesforce.

For this post we will select contact object. I am sure there is no web-to-contact feature 🙂
We can go to the Fast Form tab and start creating a new form. Here you can select the object you want the records to be created. Also you can select any related records you want. Cool haan….

You have the components in the right hand side , you have the list of available fields for the object selected above and some static general use fields.


Once you add fields to the form, you can see various option for them., which are too cool..
You can give a Different label on the form, make it required, place holder text and cool stuff .

You have an option to give the page your branding as well.

Once everything looks ok , you added all the fields and gave your branding, then click on the publish Draft. Once published you will get more option to select the way you wanted to use the form.


Yeeeee, the contact is created directly in salesforce without any much issues.


The last screenshot shows the status of the submitted record. If there was any error you can resubmit it.
Conclusion:
There are many other ways to achive this, but this is the most simplest without having to develop the code your self. To develop this you will need a lots of time. When I tested this package , I felt it would be a very helpful app for many in need. Hope this will help some one in need. Please feel free to reach me if needed any help while configuring this package. Happy to help..
Comments and suggestions are always welcome 🙂
Keep reading and sharing…


Leave a Reply